The Two Battles of El Alaheim, Egypt
Warfare in North Africa, from January to July in 1942, had been a back-and-forth affair, with both Allied and Axis forces winning and losing key point locations along the way. By the end of July, both sides were at an impasse at the Alaheim line, taking time to finally resupply and regroup. On the Allied side, Lt. General Bernard L. Montgomery was newly installed in July as commander of the Eighth Army, under General Sir Harold Alexander. Winston Churchill’s directive was for Montgomery to take down Germany’s Field Marshall Erwin Rommel (the Desert Fox) and the Afrika Korps, once and for all.
The Battle of Alam Halfa: Part I
Montgomery had calculated that Rommel would try to attack through the Alam el Halfa Ridge, in order to get to Alaheim, rather than going around Allied forces to Cairo. When Rommel finally made his attack on August 31st, Montgomery held him off for nearly a week of bloody fighting, losing some 1,750 killed or wounded, 68 tanks and 67 aircraft. During this time, the Allied forces had pushed Rommel back to just past an Allied-built minefield, and there the Allied forces halted. Rather than pushing out further to attack Rommel, Montgomery waited while much needed reinforcements flowed in, particularly the American Sherman tanks that were off-loading at Suez. Rommel’s forces, on the other hand, were already severely depleted from constant battles, Allied air bombings, lack of reinforcements and supplies. During this waiting period, which was initially considered controversial, Montgomery spent time with the troops, began training exercises to better prepare the soldiers, and letting them get to know and trust him. Montgomery, in turn, established his visual image by wearing the black beret, that would become his trademark of his presence on the field. His men would always know when he was there with them in the battlefield.
The Battle of El Alamein: Part 2
By the time the second battle began on October 23, 1942, Montgomery had nearly double what Rommel had in the field: 220,000 soldiers, 1,029 tanks, 750 aircraft, 900 field guns, and 1,401 anti-tank guns. Beginning with heavy bombardments of the Axis lines, while infantry soldiers crossed over the mine fields, the tank division was also deployed, defeating anyone standing in their way. During a subsequent battle, Operation Supercharge, the Germans had to commit all of it armored reserves, losing some 100 tanks. The German supply lines, along with badly needed oil reserves being transported from overseas, had been destroyed, thanks to intercepted intelligence by the Allies.
The Allied forces, on the other hand, had hidden their supplies, where they were easily accessible when needed. They also pretended to show they would attack from other areas, from where they did eventually attack, thus providing the element of surprise. Through further carefully crafted operations, the Allied troops were able to decimate Rommel’s forces, until he finally determined that he would have to retreat to Tunisia, and, later, into Italy. This was a decisive turning point for the Allis in WWII, in being able to run the Germans out of Africa.
Lt. General Bernard L. Montgomery, 8th Army |
|
Under Lt. General Brian G. Horrocks
Under Air Vice Marshall Arthur Coningham
Under Air Chief Marshall Arthur W. Tedder
|
|
Lt. General Bernard L. Montgomery, 8th Army |
|
|
|
|
|
Photo Gallery
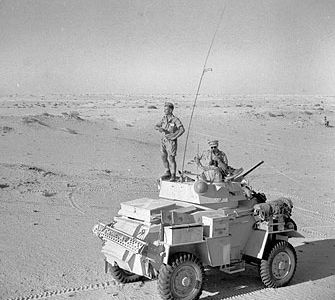
A British Humber MkII armored car on patrol south of El Alamein, Egypt, July 1942
Photographer: McLaren
Source: Imperial War Museum
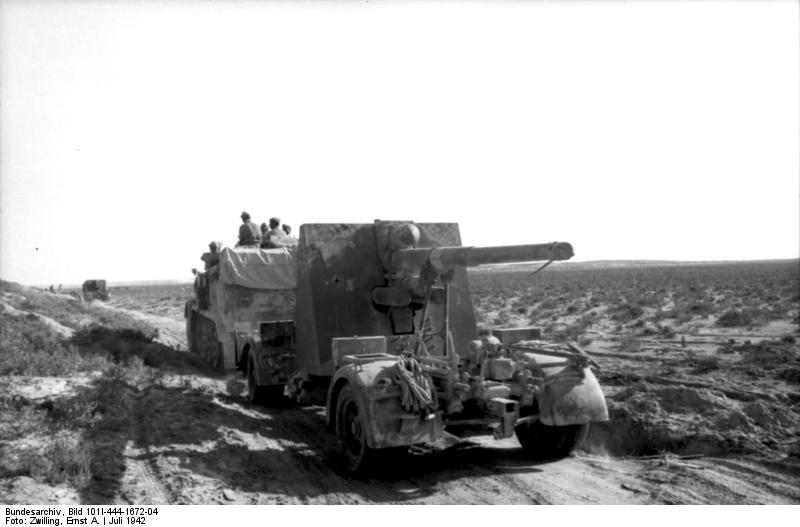
A German 8.8cm FlaK gun (also known as the 88) with a gun shield being towed during the First Battle of El Alamein, July 1942
Photographer: Ernst Zwilling
Source: German Federal Archive
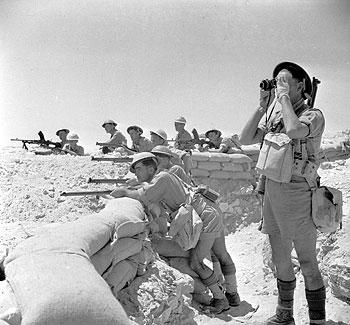
British infantry in a defensive position near El Alamein, July 17 1942
Photographer: Fox
Source: Imperial War Museum
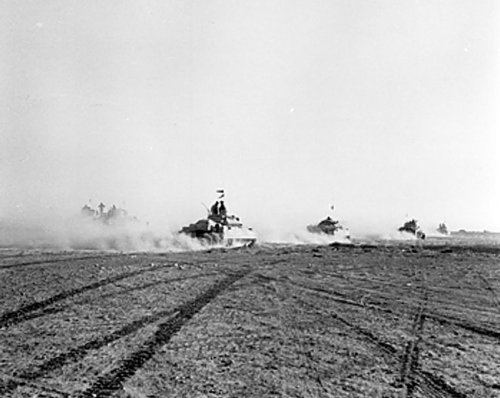
British Crusader tanks moving toward the front lines during the Second Battle of El Alamein, October 24 1942
Photographer: Gladstone
Source: Imperial War Museum

Montgomery with binoculars observing the field, Egypt, November 1942
Source: United States National Archives